

“Projects” on Chef Automate provides users the ability to organize nodes into groups giving better insights into the status of the fleet and an easier way to distinguish and visualize nodes on Automate.
Projects allow for filtering and segregation of your node data with a set of rules. Users can combine multiple rules in one project. After applying the project rules, one can find the created project in a dropdown on the top right corner of the Automate dashboard. Selecting one of the projects will show the nodes mapped to the project.

Projects and Policies (IAM)
Projects gives the ability to restrict users from accessing all the nodes in the fleet. Creating projects also produce policies (IAM) in the policies section. These can be assigned to specific users to receive permission to view/edit only those nodes belonging to the project(s) they have access to.

Criteria to group nodes under projects
A user can create a rule to group nodes by event or node resource type.

Nodes can be grouped by one of the following methods.
- Chef Organization
- Chef Infra Server
- Environment
- Chef Role
- Chef Tag
- Chef Policyname
- Chef Policygroup
How to use projects to group nodes?
We will walkthrough grouping of nodes using “Projects” by two methods
- Grouping nodes with a tag
- Grouping nodes via policyfile or policy group
Grouping nodes using a tag
A Chef tag can be created and applied to nodes by using knife tag command or with a tag resource in a recipe file. For example, in the cookbook (in this example, ‘custom’), the below line can be added in one of the recipe files:

This recipe file can be added to an existing cookbook and then add the recipe to the run list for all the nodes that need to be tagged with it.
Create a rule targeting the tag:
- Navigate to Settings in Automate dashboard and click on Projects.
- Create a project.

- Click on the project name to open the project.
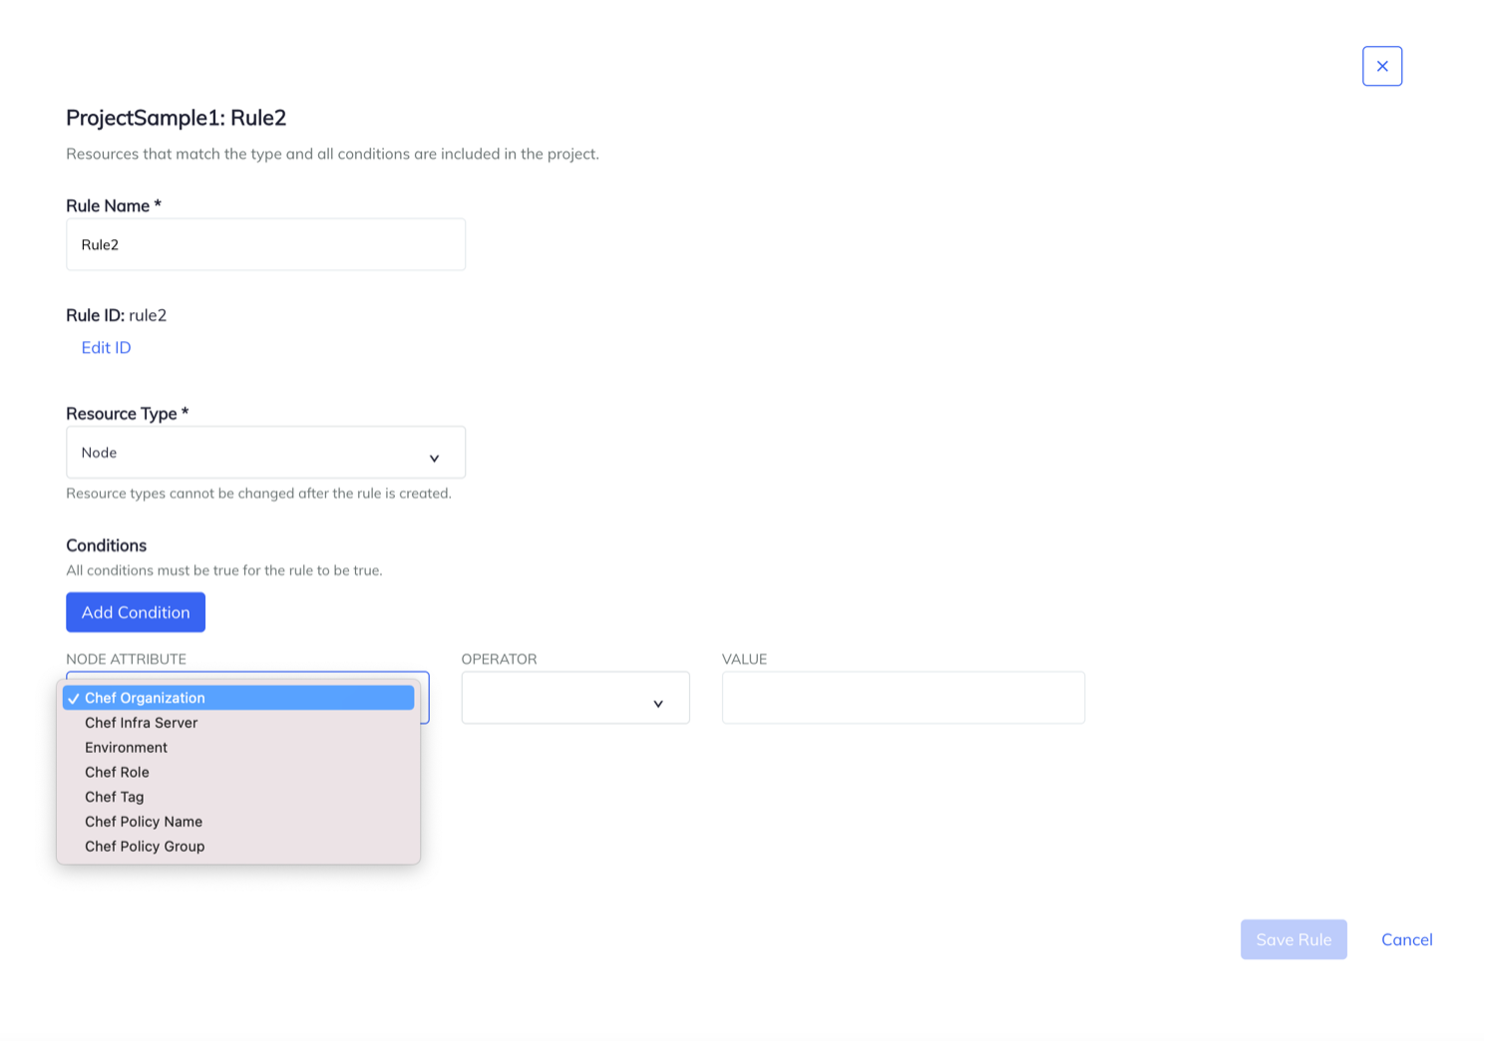
- Click on create rule and add conditions.
.png?sfvrsn=a31028de_0)
- Select Resource type as node.
- Select node attribute as “Chef Tag”.
- Add the value to match and save the rule.

- Click on Update Projects in the bottom bar to apply the rules from the modified (or in this case, newly created) projects.

Depending on the number of nodes managed by Automate, it may take time to apply all the rules. Once the project rules are applied, find the project in a dropdown on the top right corner of the screen.

Grouping nodes via policyfile or policy group
If a group of nodes have a common policyfile or policygroup assigned, projects can be created accordingly with same steps as above (refer section: Grouping nodes with a tag) but choose policyfile or policygroup as the node attribute while selecting the condition. A rule that targets multiple policies and groups can be created using the “member of” check in the condition.
Where can Projects be used?
Nodes can be grouped in many ways depending on the organization needs. Some of the scenarios where Projects can be used are:
- Grouping nodes based on region
- Grouping nodes by Operating System
- Segregating nodes on different environments (Dev/Acceptance/Production)
- For team/department specific views.
- To differentiate different types of nodes like Desktop/Kiosks/Servers
- To Group nodes with identical configurations Etc.
Here is an example of how you can segregate desktop and server nodes with Projects. To view desktops and servers separately on a single Automate instance using projects, it is recommended that the nodes be segregated by one of the following attributes.
Chef Tag-:
- Create a recipe which adds a “desktop” tag
- Add the recipe to the runlist of all desktop nodes and create a project with the tag.
- Similarly, can create a recipe to apply “server” tag , add to the runlist of all server nodes and create a project.
Chef Policy name/Policy group-:
- Maintain separate Policyfiles for desktops and servers.
- Create projects with their respective Policyfiles.
The nodes can also be grouped based on Chef organizations and Chef servers. However, if there is no segregation in place between desktop and server nodes, moving nodes of a particular type from one server to another or moving them under a different organization is a comparatively bigger effort than simply assigning a policy or a tag for segregating desktop from server nodes. Likewise, Projects can be used for other use cases where it is necessary to distinguish or group nodes.